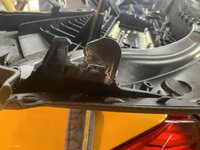
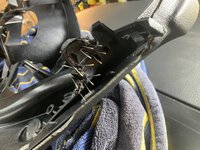
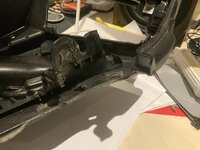
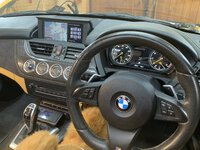
I broke the two outboard lugs off the dashboard when I removed it..on one side my defence was that some Germanic hand maidens had attached a set of GPS leads to part of it..
I decided to buy a second hand one..on arrival it too had the lugs broken..and unlike mine no sign of the broken bits..plus two other major bits damaged ..not bad for £400…
So decided to try and repair mine.
I super glued the lugs back on and then attacked it with a ‘welder’…
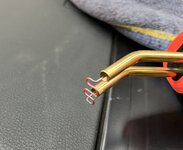
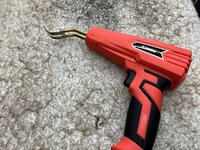
Basically it’s a glorified soldering iron head..two off…that uses the current through the metal pin to heat it to red hot..it then melts into the plastic and you let it cool whilst in situ..then you remove the ‘gun’..the pins are push fit into the end so the gun simply detaches itself from the now embedded pin.
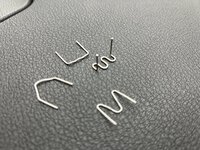
There are several versions of the pin.
There is a spatula device to warm bars of material anc melt them as well.
It’s not pretty and needs a degree of finishing but compared to a glued joint much much stronger.
It’s the same effect as re-bar in concrete..
We’ll see how it goes on re-installation..
I was so impressed with it I used some scrap plastic to restructure / add some support to the area in the dash where I had dremeled (with the benefit of hindsight) too much material away..
For areas that are not visible it seems a possible salvation for all those broken clips etc..
There are some videos showing super glue ..the liquid version with binders like cotton wool, bicarbonate of soda, even cigarette ash to support broken parts..but in this case there isn’t the space to use that technique…..


